


Installing RGS-3 Brake
Installing RGS-3 Brake
Tools Required For This Repair

Step 1


Step 2


Step 3


Step 4
Unfold the handlebars to the upright position.


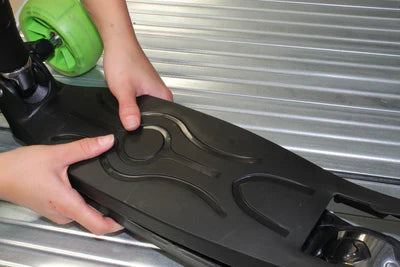
Step 5
Lift the coloured plastic up over the brake as shown in this picture. This will then expose the screws keeping the brake in place.


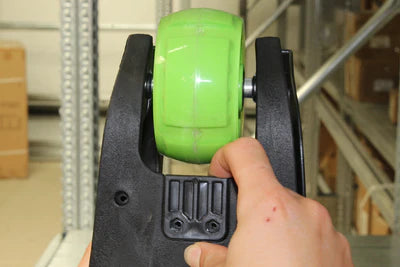
Step 6


Step 7
Remove the brake or the remainder of the brake if this has snapped off.

Step 8
Once the brake has been removed, stand the scooter on the handlebars so that the rear wheel is facing upwards. Then pull out the bottom block of the brake.


Step 9
Put the new brake block into place.


Step 10


Step 11
Put the small nuts of the replacement screws into the recess of the brake block and hold these into place so that they don’t fall out.


Step 12

Step 13
Once the brake has been attached, push the top part of the base back into place.
Make sure to align the recess for the screws in place with the holes on the bottom part of the scooter base.


Step 14
Screw the 8 screws back into the base of the scooter to secure to join the top and bottom part of the base.

Within Your Warranty?
Please contact our customer service team who will be more than happy to help assist with any parts you may require.
Outside of Your Warranty?
Please visit our parts shop on our website where we sell a range of parts at a low cost.